Before and After: 5 Smartphone Camera Settings for Stunning BBQ Meat Shots
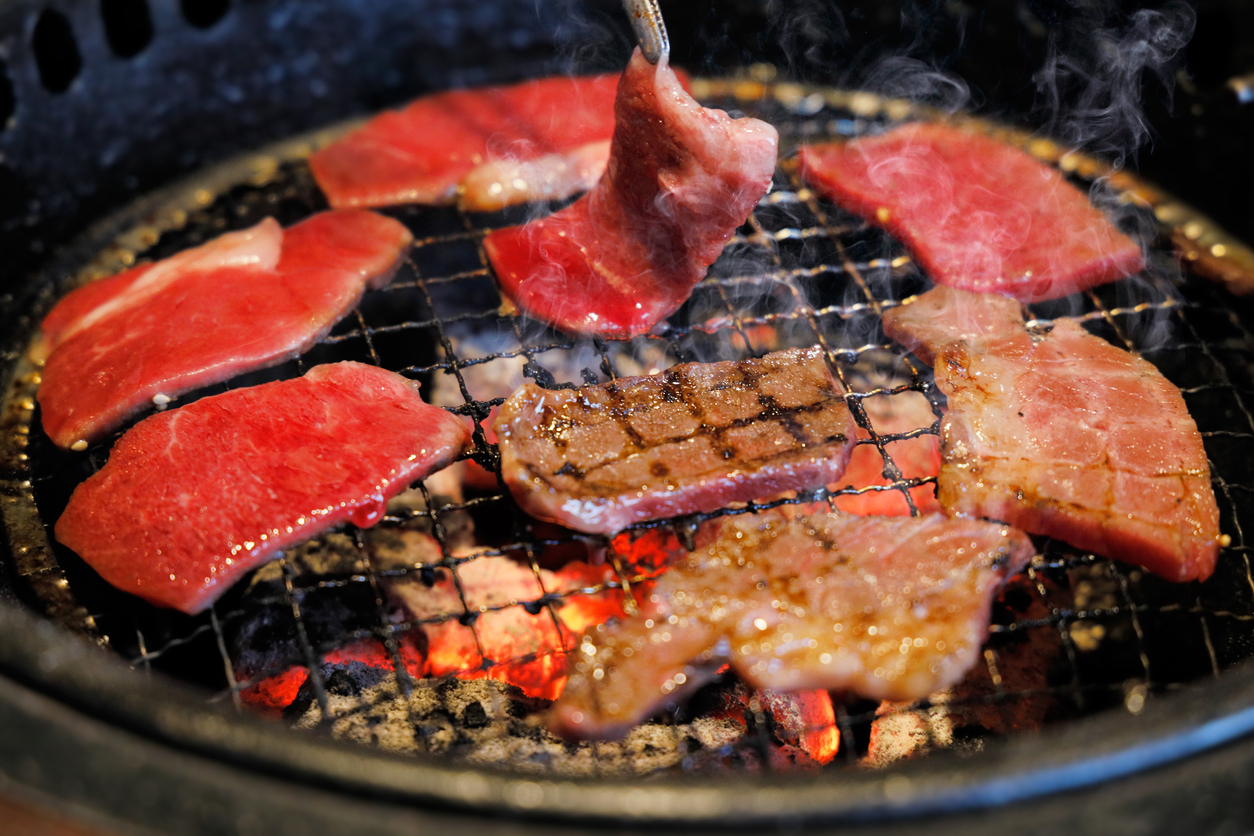
Greasy smoke plumes, harsh overhead restaurant spotlights, and sizzling metal grates turn most amateur yakiniku photos into unappetizing, washed-out messes. When raw A5 wagyu or thick-cut skirt steak hits a scorching grill, amateur phone lenses struggle with erratic reflections and rapid motion, rendering prized marbling as yellow sludge and charred edges as muddy shadows. The appetite for capturing high-end meat craft has never been sharper. As alternative culinary choices and specialized cuts capture mainstream interest, an obsession with heritage meats highlighted in a recent Bozeman Daily Chronicle Report, tabletop diners are discovering that factory smartphone settings fail miserably in authentic barbecue dens.
📌 Quick Summary:
- The Problem: Automatic computational exposure overbrightens highlights, washing out fat striations and turning render glazes into flat grease.
- The Solution: Dialing down exposure compensation by -0.7 EV, manually warming the white balance, and shifting to a dedicated 45-degree angle restores crisp depth.
- The Result: Tabletop snapshots gain rich marbling contrast, dimensional smoke ribbons, and clean optical bokeh without fake digital blur.
Why Overhead Restaurant Spotlights Ruin Grilled Meat
Tabletop yakiniku restaurants rely on concentrated downlighting to showcase cuts on black slate platters. While visually dramatic to the naked eye, these pinpoint halogen or LED beams confuse phone image sensors. Modern multi-camera smartphones attempt to calculate an average lighting balance across the entire frame. The camera brightens the dark grill perimeter while blowing out the delicate white intramuscular fat running through the meat.
Raw beef marbling requires micro-contrast to stand out. When automated software lifts the shadows, the boundary between crimson muscle fibers and crystalline fat dissolves. The shot ends up looking flat, greasy, and lifeless. Fixing this requires overriding standard automatic light balance before touching the shutter button.
Wiping the lens is the single most overlooked step. Microscopic grease droplets coat mobile phone camera lenses within 10 minutes of sitting near an active smokeless roaster. That greasy film creates massive light bleeding, soft edges, and hazy flare around charcoal embers. A clean microfiber wipe clears that haze instantly.
Exposure Compensation and White Balance Calibration
Point-and-shoot phone algorithms measure grill grates as pure black voids, prompting the software to overexpose the scene. The easiest correction is dragging down the exposure slider immediately after tapping the focus point directly onto the meat. Dropping exposure compensation between -0.3 EV and -0.7 EV preserves high-heat surface gloss and deep ruby hues.
Indoor dining spaces also swing wildly across the Kelvin temperature scale. Cheap recessed bulbs introduce a sickly green or muddy blue tint to beef. Manually locking white balance between 4,800K and 5,400K emphasizes warm mahogany crusts without turning garlic slices and white rice orange.
Smartphones equipped with computational raw capability allow diners to lock white balance natively. Locking these values prevents the device from recalibrating mid-burst while grease fires flare up and extinguish.
Ditching the Flat Flatlay for the 45-Degree Angle
Top-down flatlay angles suit charcuterie boards and pizza, but they fail completely with yakiniku. Overhead perspectives flatten meat cuts into featureless strips and hide the dynamic height of bubbling fat droplets. Angling the lens at roughly 45 degrees mimics the perspective of a diner leaning in for a bite, establishing immediate visual appetite.
This angle lets you separate foreground meat from background grill elements. Placing an uncooked, marbled cut slightly ahead of sizzling strips on the grate establishes visual depth. The meat in front pulls sharp focus while the glowing coals fall into smooth optical blur.
Avoid sticking the physical handset inside the heat radius. Modern 3x and 5x optical periscope lenses allow photographers to back up 18 to 24 inches from spitting oil while preserving tight frame compression. This keeps sensors safe from heat damage and prevents wide-angle barrel distortion from warping round grill grates into unnatural ovals.
Dialing In Camera Settings: Default Auto vs. Custom Manual
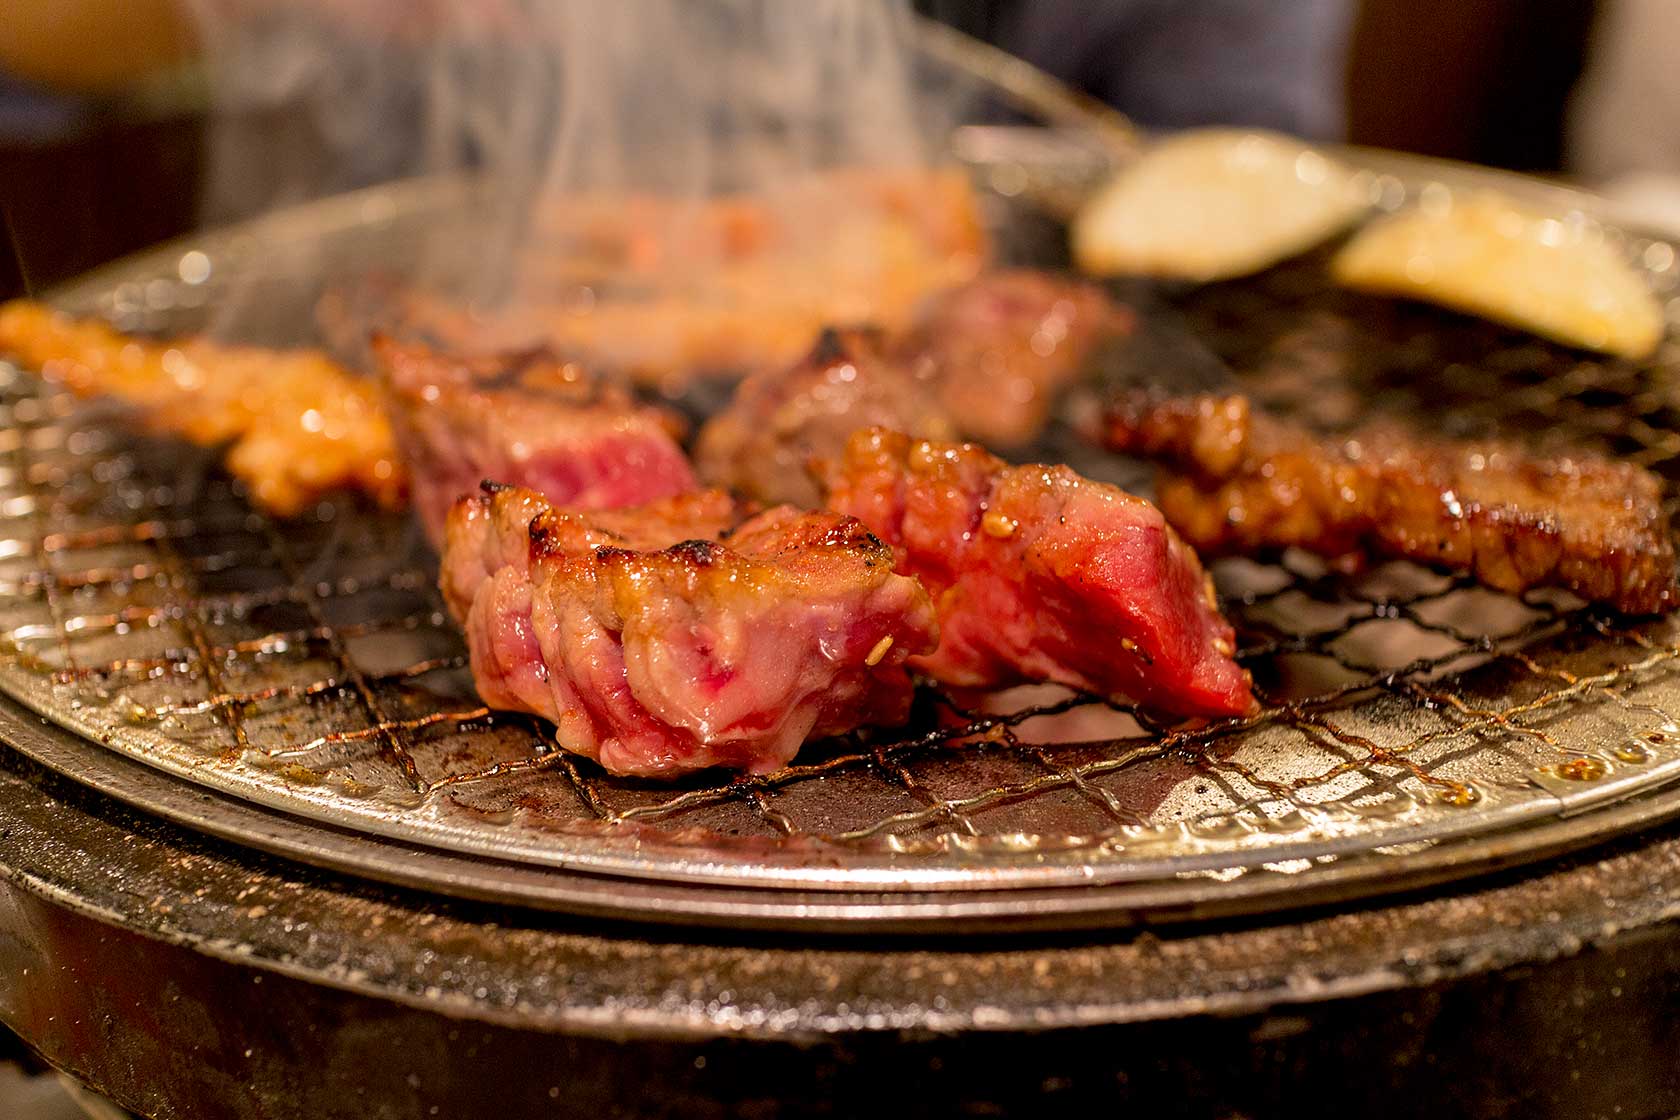
Switching from out-of-the-box settings to deliberate manual tweaks turns everyday barbecue snapshots into crisp, editorial-grade captures.
| Setting Variable | Standard Default Auto | Custom Tabletop Configuration |
|---|---|---|
| Exposure Metering | Multi-zone matrix (0.0 EV) | Spot metering pinned to meat (-0.7 EV) |
| White Balance | Auto (drifts between 3,500K, 6,500K) | Locked manual (5,000K, 5,200K) |
| Focal Length | 1x wide lens (24mm equivalent) | 3x telephoto (70mm, 85mm equivalent) |
| Shutter Speed | Dynamic auto (1/30s to 1/60s) | Manual or burst action (1/250s or faster) |
Freezing Grease Sizzle and Framing Rinsing Smoke
The biggest mistake diners make when meat hits the grate is treating the grill like a static studio set. Yakiniku lives on action: rendered fat popping against glowing binchotan coals, sweet soy tare vaporizing into smoke, and tongs turning seared cuts over fire.
Slow auto shutter speeds smear rising steam into indistinct gray clouds. Setting a fast shutter around 1/250 second or holding the shutter button to shoot rapid image bursts freezes crisp vapor swirls and glistening grease bubbles mid-pop.
Backlighting is critical for capturing smoke cleanly. Position your angle so the primary light source sits slightly behind or to the side of the meat rather than directly behind the camera. As light hits the rising particulate matter from the rear, smoke trails glow silver against the shadowed restaurant background, adding atmospheric punch to the frame.
Capturing Raw Cut Geometry with Macro Focus
Before laying slices over iron wire meshes, capture the raw presentation platter. Modern culinary standards treat meat selection like fine wine, with marble score grading often dictating diners' choices. Professional meat inspectors and experimental packing operations have explored camera-assisted meat quality scoring tools for years, proving that high-resolution optics expose marbling texture better than human eyes under poor light.
To document the cellular marbling of raw karubi or rosu, switch to a dedicated macro mode or step back and utilize a 2x optical crop. Keep the plane of the phone sensor parallel to the surface of the meat slab. Tilting the phone diagonally across a flat platter creates unwanted focus roll-off, leaving half the steak blurry.
Look for grazing light that highlights moist meat grain. Raw cuts dry out under ambient air within minutes, losing their wet surface gloss. Snap your detailed marbling shots immediately after the platter arrives at the table, while the natural fat remains firm and cleanly defined.
Frequently Asked Questions (FAQ)
Q1: Should I use dedicated Portrait Mode for meat on the grill?
A1: Avoid portrait mode on active cooking surfaces. The software's depth-mapping algorithms often confuse wire mesh, grill slats, and wisps of rising steam with background noise, creating awkward artificial blur artifacts around the meat edges. Use a physical 3x optical telephoto lens instead to create authentic depth of field.
Q2: How do I stop greasy steam from ruining my phone's camera?
A2: Keep the device at least 1.5 to 2 feet away from open flames and use the telephoto zoom to frame your composition. Always carry a dry microfiber cloth, and wipe the glass elements before every burst sequence. Lingering vapor deposits degrade edge sharpness and ruin contrast within minutes.
Q3: What can I do if the restaurant is too dark for fast shutter speeds?
A3: Never use the built-in camera flash, which creates harsh hot spots and bleaches out meat color. Ask a dining companion to hold their phone flashlight roughly 12 inches above and slightly behind the meat plate, diffused through a white paper napkin to create soft, appetizing side-lighting.
Field-Tested Technique Over Raw Hardware
Smartphone camera arrays packing enormous sensors and multi-lens systems give diners remarkable photographic control right at the table. Expensive hardware alone cannot overcome the challenges of greasy lenses, poor lighting angles, and blown-out highlights.
Understanding how camera sensors interpret hot coals, raw fat, and vaporized smoke separates dull, murky snapshots from appetizing editorial images. Taking control of exposure compensation, framing through telephoto lenses, and balancing warm color temperatures turns your next barbecue into a striking visual chronicle. Focus on light direction, protect your lenses from ambient grease, and time your shots when the sizzle peaks.
