The Secret to Never-Dry Chicken Breast Katsu: Why Top Japanese Chefs Swear by Two Simple Prep Steps
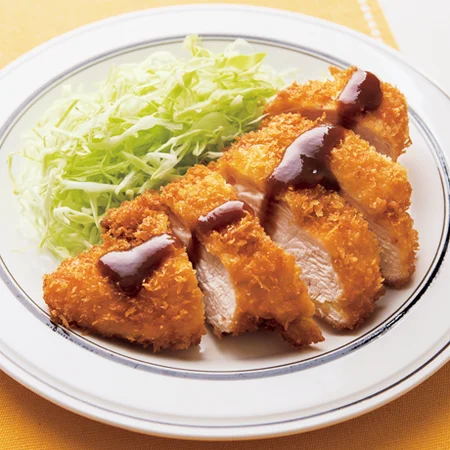
Cooking chicken breast without turning it into leather remains one of the great domestic culinary battles. Home cooks worldwide embrace boneless, skinless chicken breast for its high protein density and reasonable grocery bill, yet traditional frying methods frequently leave the meat dry, chalky, and stripped of natural juices. Japanese home kitchens have tackled this dilemma for decades, refining cutlet preparation so that lean meat emerges from the skillet tender and encased in an airy, brittle crust.
The solution does not involve specialized commercial fryers or complicated overnight chemical brines. According to a detailed culinary report by ゆうゆうtime on MSN, celebrated Japanese chef Masahiro Kasahara emphasizes that maintaining chicken breast succulence hinges entirely on two variables: cutlet thickness and the precision of the initial flour barrier. Coupled with modern stovetop pan-frying strategies popularized across Tokyo home kitchens, this approach eliminates the mess of deep-oil vats while preserving every drop of internal moisture.
📌 Key Takeaways:
- The Structural Weakness: Chicken breasts dry out because uneven muscle thickness forces thinner tapered ends to overcook before the thick core finishes heating through.
- The Dual Shield: A controlled horizontal butterflying technique paired with a delicate, pat-down flour dredge creates an impermeable moisture seal under high thermal energy.
- The Pan Advantage: A skillet shallow frying technique requires only 1 to 1.5 centimeters of cooking oil, yielding a golden crust while sparing cooks the labor of full grease disposal.
Why Lean Poultry Dries Out Before Leaving the Skillet
Pork loin and chicken thighs contain significant intramuscular fat and connective collagen. During thermal rendering, those fats liquefy, lubricating the surrounding muscle fibers even when exposed to extended heat. Chicken breast possesses virtually no marbling. It consists of fast-twitch muscle fibers with minimal collagen support. When exposed to temperatures exceeding 68°C (155°F), lean poultry proteins violently contract, squeezing out intracellular liquid like a clamped sponge.
Most home cooks compound this structural issue through geometry. A whole raw breast is shaped like a wedge: thick and bulbous at one end, narrow and thin at the tail. Dropping an uneven cutlet directly into hot cooking oil ensures that the tail hits 85°C (185°F) and desiccates into fiber strands long before the core reaches a safe internal temperature. Attempting to compensate with extended deep frying cooks away moisture from the exterior while grease seeps into cooling crevices.
Japanese home cooking masters counter this by treating prep work as thermal engineering. Before seasoning touches the meat, its physical geometry must be corrected. Flattening the protein structure prevents hotspots, while surface starches form a protective barrier that seals steam inside the interior pocket.
Precision Geometry: The Slicing Strategy Behind Uniform Cooking
Achieving a tender chicken breast cutlet starts entirely on the cutting board. Culinary data shared across community platforms like Cookpad shows that home cooks who slice a single 300-gram chicken breast horizontally into two balanced cutlets cut internal frying time down by nearly 40%. This cuts cooking time and creates a reliable baseline for uniform thermal conduction.
Begin by placing the breast flat on a cutting board, pressing down gently with your non-knife hand. Using a sharp chef's knife or slicing knife held parallel to the board, make a horizontal incision through the thickest side of the breast. For large cuts, you can slice entirely through to produce two distinct cutlets of matching thickness. Alternatively, butterfly the breast by cutting nearly to the edge and opening the meat like an open book.
Once opened, use the back of the knife or a flat meat mallet to gently tap areas where the grain clusters tightly. The objective is not to pulverize the meat, but to establish a uniform thickness of roughly 1.2 to 1.5 centimeters across the entire cut. This uniform profile ensures that every square millimeter absorbs heat at the exact same velocity, preventing moisture loss at the fringes.
The Flour Barrier: Locking In Moisture Before the Breadcrumbs
Many novice cooks view dredging as an uninspired chore, treating flour simply as the glue that anchors beaten eggs. Chef Kasahara notes that flour plays a far more critical role: it creates an impermeable shield that traps steam inside the muscle tissues. The moment meat hits hot oil, surface moisture evaporates rapidly, drying out the outermost protein layer.
To master this flour dredge technique, follow a disciplined routine:
First, thoroughly pat the sliced chicken dry using paper towels. Surface water turns flour into gummy paste, which flakes off during frying. Second, lightly season the meat with fine salt and white pepper, then dust with all-purpose wheat flour or cake flour. Third, pat away all excess flour with your palms until only a micro-thin, matte sheen remains visible. If excess clumps gather, your breading will separate into greasy pockets.
The flour adheres directly to surface amino acids. When the cutlet encounters the egg wash and panko, this base layer bonds with the starch granules, forming an airtight barrier. Steam expanding inside the meat cannot break past this layer, forcing natural poultry juices to circulate within the cutlet rather than escaping into the cooking vessel.
Shallow Skillet Frying: High Efficiency With Minimal Cleanup
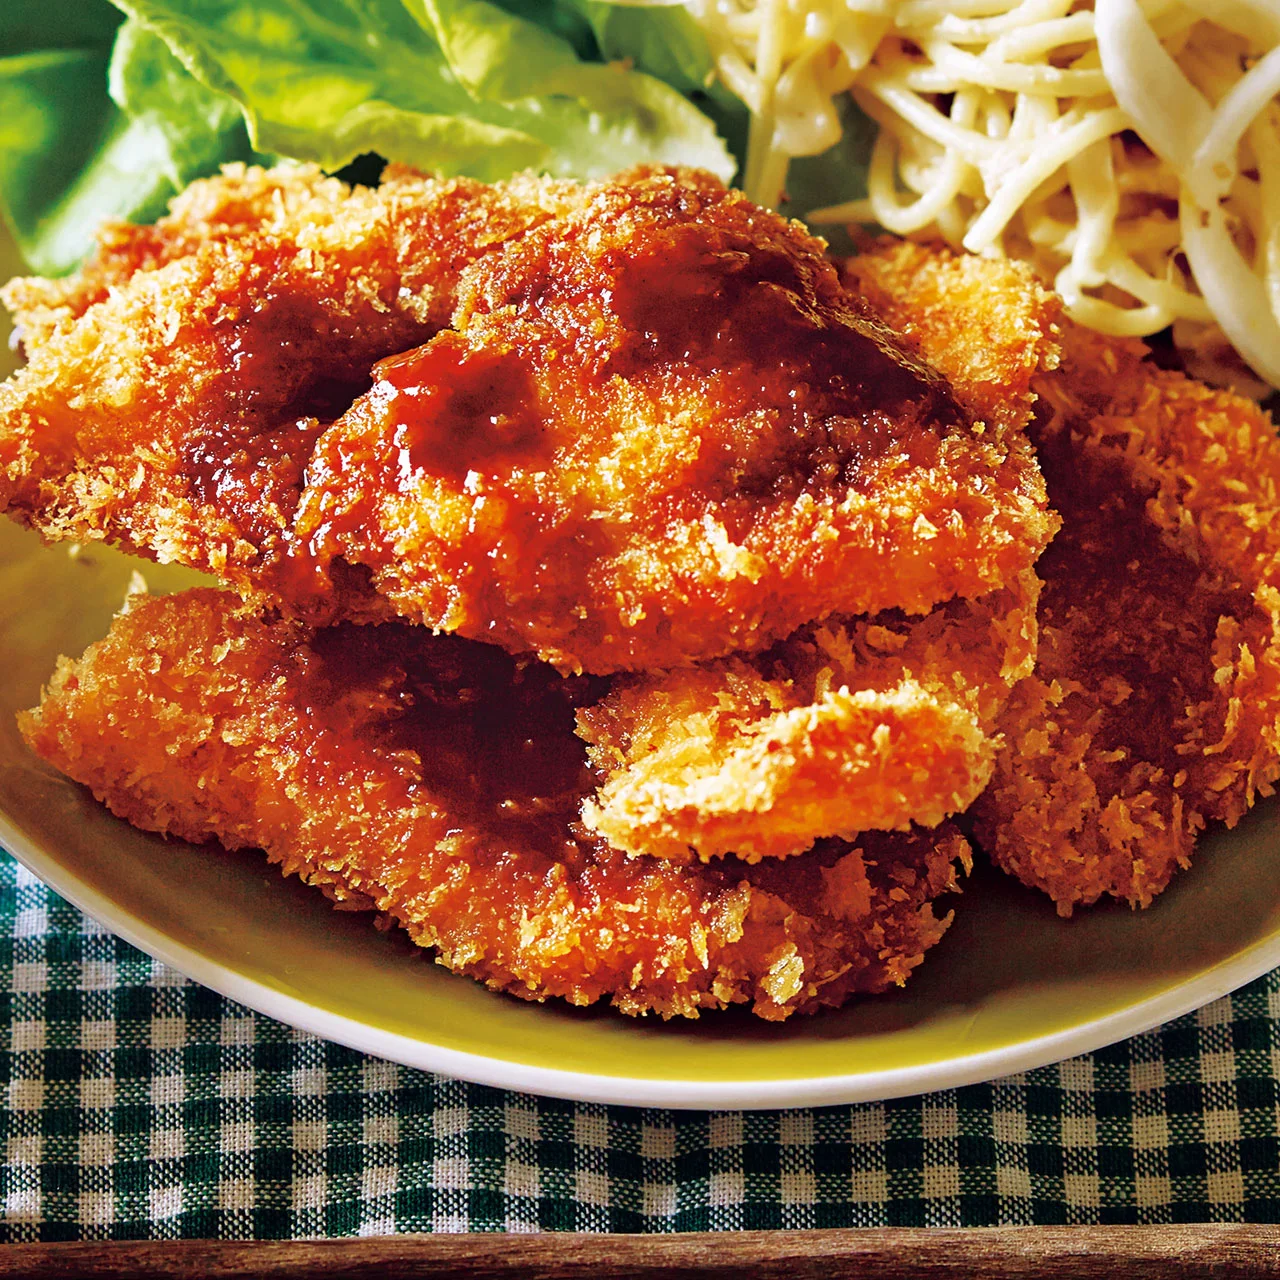
A persistent myth suggests that an ultra-crispy cutlet requires two liters of bubbling oil in a heavy Dutch oven. Japanese food media and home-cooking advocates have debunked this, favoring an easy skillet katsu prepared via shallow frying (known in Japan as age-yaki). This technique uses a conventional frying pan filled with just enough oil to submerge half the cutlet's depth, reducing cooking fat disposal down to negligible levels.
| Frying Method | Oil Volume Required | Cooking Time Per Cutlet | Cleanup Effort & Waste |
|---|---|---|---|
| Traditional Deep Frying | 800, 1,200 mL | 5, 6 minutes | High; requires cooling, filtering, or chemical coagulants |
| Skillet Shallow Fry (Age-yaki) | 150, 250 mL | 4, 5 minutes total | Low; easily absorbed with two paper towels after cooling |
| Convection Air Frying | 5, 10 mL (oil spray) | 12, 15 minutes | Minimal; but risks uneven browning and dry texture |
Pour neutral vegetable oil, such as canola, rice bran, or light sesame oil, into a wide frying pan until it reaches a depth of about 1 centimeter. Bring the oil to 170°C (340°F). You can test the heat by dropping a single panko flake into the pan; it should sink slightly below the surface, then immediately float up while sizzling evenly.
Gently lower the coated cutlets into the pan away from your body to prevent splashing. Cook untouched for approximately 2 to 2.5 minutes until the underside hardens into a crisp, light-amber shell. Carefully flip the cutlet with tongs and cook the other side for an additional 2 minutes. Lift the cutlet vertically out of the oil and hold it upright for 10 seconds to allow surface oil to drain back into the pan. Transfer the katsu to an elevated wire cooling rack rather than a flat paper towel, preventing trapped steam from softening the underside crust.
The Chemistry of Crispy Panko Crust
Western-style breadcrumbs are fine, round, and dense. When fried, they form a solid, rigid outer crust that readily absorbs grease. Japanese panko breadcrumbs, in contrast, are manufactured from crustless bread using electrical resistance baking, which yields elongated, jagged shards packed with air pockets.
When you press panko gently into the egg-washed breast, these jagged flakes sit at diverse angles. During the shallow frying process, hot oil rapidly boils off moisture trapped inside each shard without saturating its core. This structural phenomenon creates a brittle exterior crunch that stays crisp even after resting on a cutting board for several minutes.
For an optimal high protein crispy cutlet, avoid packing the breadcrumbs with excessive force. Heavy pressure crushes the air cells, producing a dense coating that takes too long to fry. Instead, spread a generous mountain of fresh panko over the egg-coated cutlet, press gently with open palms to help the base adhere, and shake away loose flakes. The cutlet should look light and feathery before it touches the hot pan.
Assembling a Balanced Meal: Sauce Dynamics and Weeknight Value
In Japanese home economics, chicken breast katsu serves as a staple budget friendly Japanese meal. Retail pricing for chicken breast regularly clocks in at roughly half the cost of pork tenderloin or rib chops, making it a reliable dinner option for families looking to cut costs without sacrificing protein quality.
While bottled Worcestershire-based tonkatsu sauce is common, regional pairing traditions offer even better flavor profiles. In central Japan's Aichi prefecture, cutlets are traditionally served alongside an aromatic miso katsu sauce pairing. A rich blend of red hatcho miso, mirin, dashi, and a touch of raw sugar simmered over low heat creates an earthy glaze that cuts right through the rich, fried coating.
Culinary programming across Japan frequently presents this combination as an all-around comfort meal. Pairing your freshly sliced skillet katsu with finely shredded cabbage, a refreshing pickled cucumber or tuna salad, and a hot bowl of egg-drop soup rounds out the plate with a balanced mix of fiber, fat, and high protein.
Frequently Asked Questions (FAQ)
Q1: Can I use this shallow frying method with chicken tenderloins (sasami)?
A1: Yes. Chicken tenderloins work exceptionally well because they are naturally thin and cook quickly. Be sure to strip out the tough white tendon with a chef's knife or kitchen shears before breading so the meat does not buckle when it hits the oil.
Q2: Why does the panko coating sometimes peel off my chicken katsu while slicing?
A2: Coating separation usually stems from two oversights: excess water on the raw chicken before dredging, or too much loose dry flour under the egg wash. Always dry the chicken thoroughly with paper towels, and pat away excess flour until the meat appears lightly dusted rather than caked.
Q3: How do I store and reheat leftover chicken breast cutlets without losing crunch?
A3: Cool leftover cutlets completely on a wire rack before wrapping them in parchment paper and placing them in an airtight container in the refrigerator for up to 3 days. To restore their crisp crust, reheat in a toaster oven or standard oven preheated to 190°C (375°F) for 6 to 8 minutes. Avoid the microwave, which turns the breadcrumb coating soft and chewy.
The Evolution of Modern Skillet Cooking
Rethinking chicken breast katsu transforms everyday weeknight cooking. Home cooks do not need complicated equipment, gallon jugs of frying oil, or expensive cuts of meat to build an exceptionally crunchy, tender meal. Simple adjustments to knife angles, an even flour barrier, and a smart shallow-pan technique bring the crisp precision of Japanese home cooking right to your home stovetop.
